Many homeowners in Petaling Jaya and across Malaysia have heard of aircond chemical wash but are not entirely sure what the process involves. As a technician who performs chemical washes daily, I want to walk you through the entire process step by step so you know exactly what to expect when you book this service.
Understanding the process also helps you identify whether a technician is doing a thorough job or cutting corners. A proper chemical wash is not just spraying some solution and wiping things down. It is a systematic, multi-step procedure that takes between 1 and 2 hours per indoor unit.
Before the Technician Arrives
Preparation on Your Part
Before the technician arrives, there are a few things you can do to make the process smoother:
- Clear the area around and below the aircond unit. Chemical wash involves water and cleaning solutions, so any furniture, electronics, or personal items should be moved at least 1 to 2 metres away.
- Lay down old towels or plastic sheets on the floor below the unit. Most technicians bring their own protective coverings, but having extra never hurts.
- Turn off the aircond at least 15 minutes before the service. This allows the evaporator coil to reach room temperature, which makes cleaning more effective.
- Make sure there is access to a water supply and a power outlet nearby.
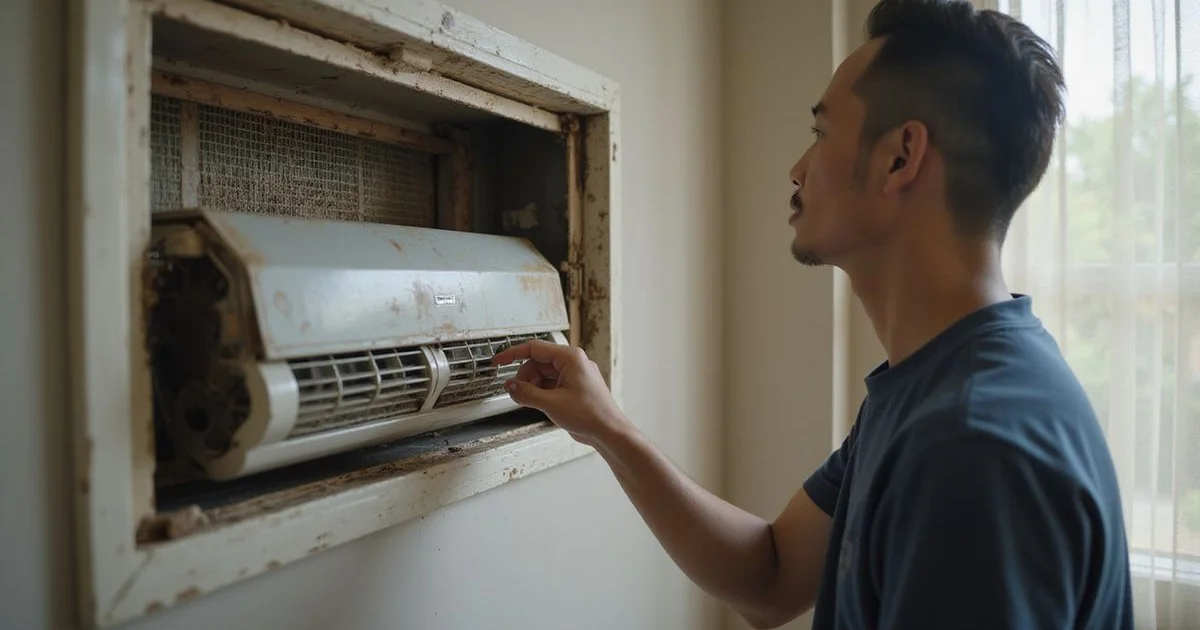
Step 1: Initial Inspection and Testing
The first thing I do when I arrive is turn on the aircond and observe its performance. I check:
- The current cooling temperature at the outlet
- Whether the airflow is strong or weak
- Any unusual sounds or vibrations
- Whether there is any water dripping
- The smell of the air coming from the unit
This initial assessment helps me understand the condition of the unit and identify any specific problems that the chemical wash should address. I also take note of the brand, model, and horsepower so I can adjust my approach if needed.
Step 2: Powering Down and Protecting the Area
Once the initial check is done, I turn off the aircond and switch off the circuit breaker for safety. Then I cover the surrounding wall and floor area with plastic sheeting secured with tape. This creates a waterproof barrier that catches all the dirty water and chemical runoff during the cleaning process.
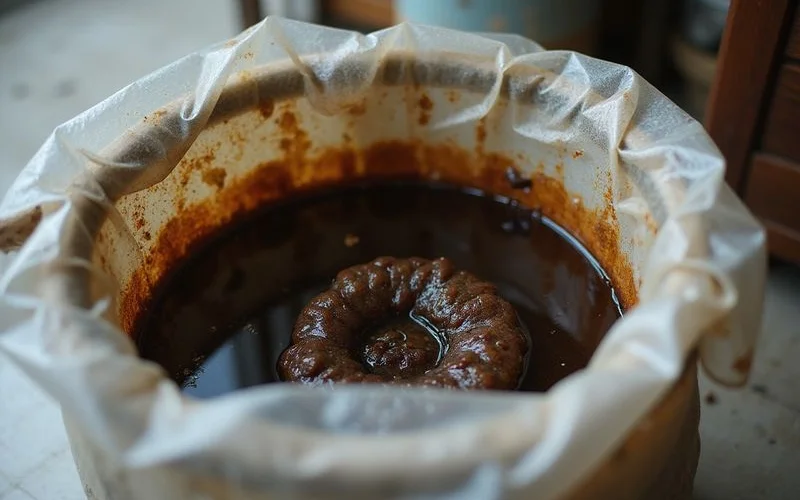
I also set up a drainage bag or tray beneath the unit. This specially designed bag wraps around the bottom of the indoor unit and channels all the dirty water into a bucket. Without this, the cleaning water would run down your wall.
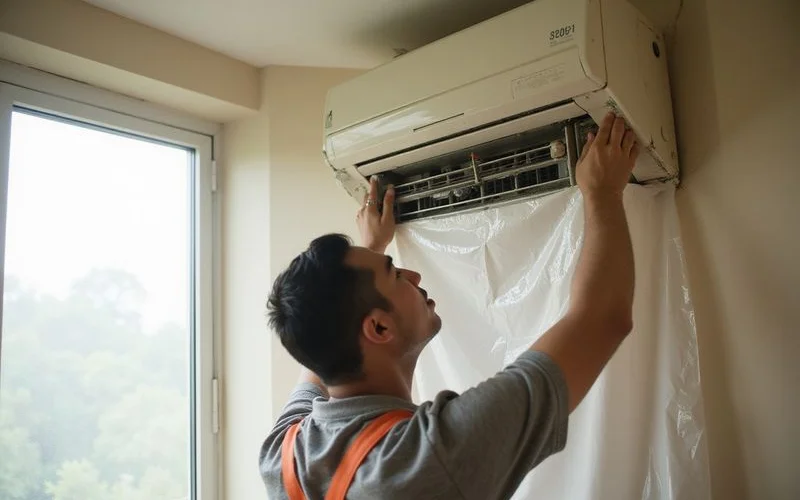
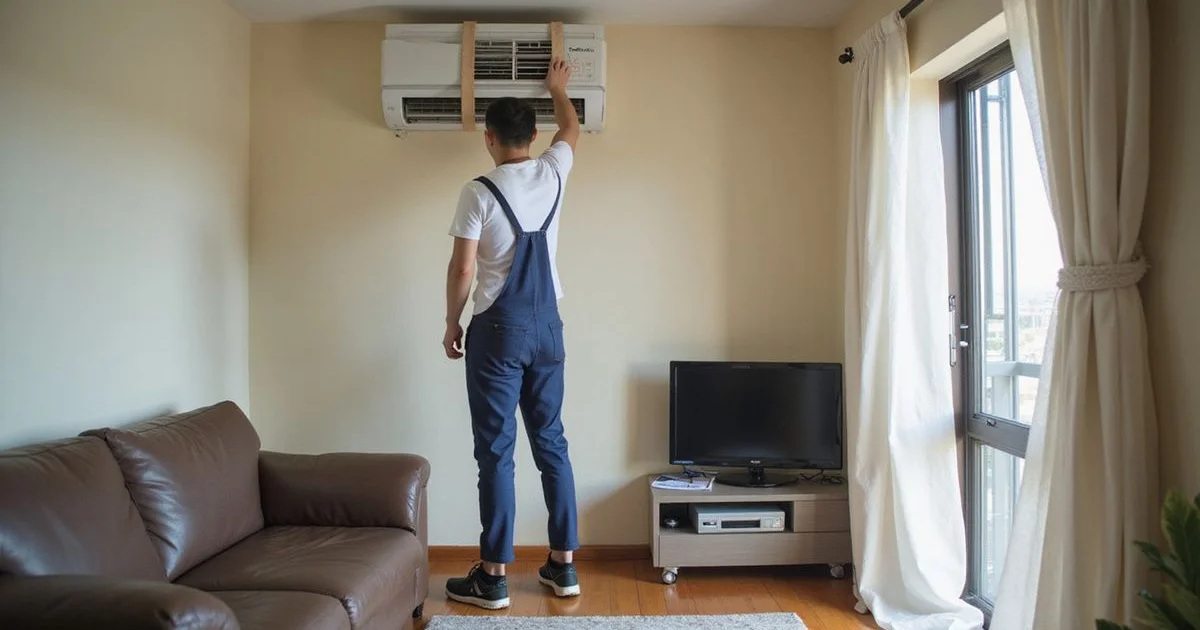
Step 3: Disassembly of the Indoor Unit
This is where the real work begins. I carefully disassemble the indoor unit by:
- Removing the front panel: This is usually held in place by clips or screws. I handle it gently to avoid cracking the plastic.
- Taking out the air filters: These are removed and set aside for separate cleaning.
- Removing the vane and louvre assembly: The horizontal and vertical air direction vanes are detached.
- Detaching the drain pan (if accessible): On some models, the drain pan can be removed for more thorough cleaning.
- Exposing the evaporator coil and blower fan: With all covers removed, the internal components are now fully accessible.
For a standard chemical wash, the evaporator coil and blower fan remain mounted in the unit. For a chemical overhaul, these would also be removed from the wall bracket, but that is a more extensive service.
Step 4: Dry Brushing and Vacuuming
Before applying any liquid, I brush off loose dust and debris from the evaporator coil fins, blower fan blades, and other surfaces using a soft brush. This prevents large clumps of dirt from getting pushed deeper into the coil during the wet cleaning phase.
I also use a small vacuum to remove dust from areas that are hard to reach with a brush, such as around electrical connections and behind the drain pan.
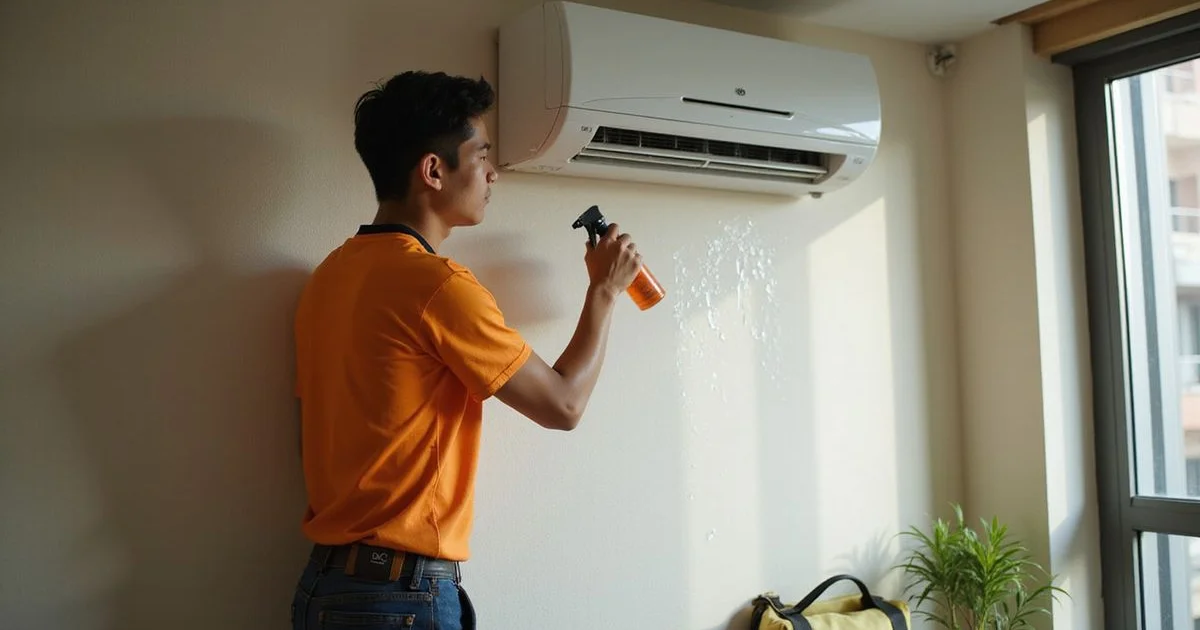
Step 5: Applying the Chemical Solution
This is the core step that differentiates a chemical wash from standard cleaning. I use a professional-grade, pH-balanced cleaning solution specifically formulated for aircond components. The chemical is applied generously to:
- The evaporator coil: I spray from top to bottom, ensuring the solution penetrates between the aluminium fins. The chemical dissolves accumulated grime, mould, and bacteria that water alone cannot remove.
- The blower fan: Each blade is coated with the solution. Over time, the blower fan accumulates a thick layer of sticky dust and mould that significantly reduces airflow.
- The drain pan and drainage outlet: These areas are prone to algae and bacterial growth.
After application, I allow the chemical to sit and react for 10 to 15 minutes. During this soaking period, the solution breaks down organic matter and dissolves mineral deposits. You may notice a fizzing or bubbling action, which is the chemical actively working.
Step 6: High-Pressure Rinse
Once the chemical has had time to work, I rinse all treated components with pressurised water. I use a pump sprayer that delivers a controlled but firm stream of water. The rinse goes from top to bottom of the evaporator coil to flush out all the dissolved dirt and chemical residue.
This is the most visually dramatic step. The water that comes out is usually dark brown or black, showing just how much grime was hidden inside the unit. Many customers are surprised (and sometimes horrified) by the amount of dirt that comes out of what they thought was a reasonably clean aircond.
The blower fan is rinsed separately, with water directed into each blade channel until the runoff runs clear.
Step 7: Cleaning the Filters and External Components
While the chemical soaks into the main unit, I clean the filters, front panel, and vane assembly separately:
- Air filters are rinsed under running water and scrubbed to remove trapped dust
- The front panel is wiped down with a mild cleaning solution
- Vanes and louvres are cleaned and dried
These components are set aside to air dry while I complete the main unit cleaning.
Step 8: Drainage System Flush
A clogged or partially blocked drainage system is one of the most common causes of aircond water leaks. During the chemical wash, I flush the entire drainage path with chemical solution followed by pressurised water. This clears any algae buildup, biofilm, or debris that could cause blockages.
I also check that the drainage pipe has the correct downward slope and is not kinked or crushed anywhere along its path.
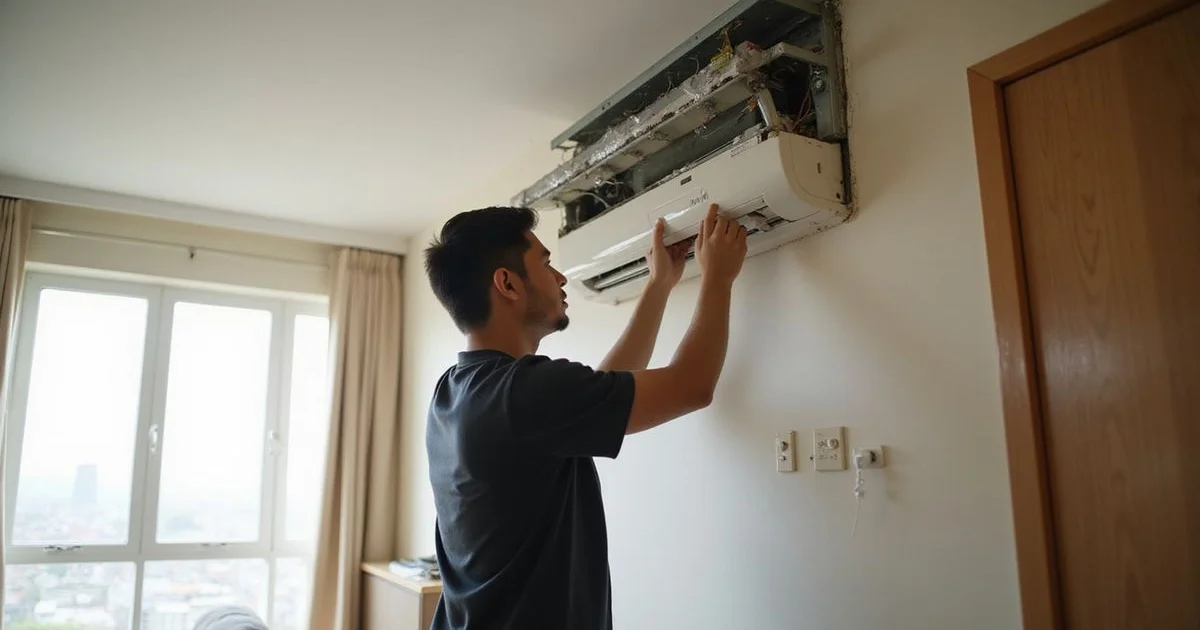
Step 9: Reassembly
Once all components are clean and the rinse water runs clear, I reassemble the unit in reverse order:
- Reattach the drain pan
- Install the vane and louvre assembly
- Replace the clean air filters
- Snap the front panel back into place
Every clip and screw goes back where it belongs. A properly reassembled unit should look and feel exactly as it did before, with no loose parts or gaps.
Step 10: Testing and Final Check
With everything back together, I turn on the power and run the aircond for several minutes. During this test, I verify:
- Cooling performance: The outlet temperature should be noticeably colder than before the service
- Airflow: Air should be flowing strongly and evenly from all vents
- No water leaks: I watch the drainage for several minutes to ensure water flows smoothly
- No unusual noises: The unit should run quietly
- No chemical smell: Proper rinsing should leave no residual chemical odour
I then compare the post-service performance with my initial assessment. For units that were blowing warm air, the difference is usually dramatic. Many customers tell me their aircond feels like new again after a chemical wash.
Step 11: Cleanup
The final step is cleaning up. I remove all the protective sheeting, drain the collection bucket, and wipe down any surfaces that got wet. I make it a point to leave the area cleaner than I found it, because professionalism does not stop when the technical work is done.
How Long Does the Entire Process Take?
For a standard wall-mounted split unit, expect the full chemical wash process to take approximately:
- 1 unit: 60-90 minutes
- 2 units: 90-120 minutes
- 3 units: 2-2.5 hours
Ceiling cassette units take longer due to the additional disassembly required.
What to Look for in a Thorough Job
Now that you know the process, you can evaluate whether your technician is doing a thorough job. A proper chemical wash should include all the steps above. If a technician finishes in 20-30 minutes, they are almost certainly cutting corners. Also watch for the colour of the rinse water. If it comes out mostly clear, the chemical likely was not applied thoroughly or given enough time to work.
A chemical wash done right should leave your aircond performing noticeably better, with colder air, stronger airflow, and no unpleasant odours. That is the standard we hold ourselves to at PJ Kool Aircond Service.
Ready to experience the difference? Explore our professional aircond chemical wash service — full process details, transparent pricing, and FREE gas top-up included.